How I Set Up DeepSeek R1 Locally
4 minute read | a year ago
In this blog, I will walk you through the process of setting up DeepSeek R1 on my local machine. This guide includes my motivations for running DeepSeek locally, the setup steps, and insights into my implementation.
What is DeepSeek?
DeepSeek is a reasoning model enhanced with reinforcement learning. This means it can think logically, verify its own thought process, and produce more accurate results over time.
Why I Chose to Run DeepSeek Locally
There are several key reasons why I chose to run DeepSeek on my own machine rather than using an online AI service:
-
Data Privacy: Owning my data is a top priority. Using online AI models such as ChatGPT, Gemini, or others involves sending data to third-party providers, where it may be collected and used as they see fit. Running DeepSeek locally ensures that my data remains private and under my control.
-
Sense of Ownership: DeepSeek is open-source, and the ability to download and customize it gives me a deep sense of ownership and control over how I use it.
-
Freedom & Flexibility: Running DeepSeek locally means no restrictions or limitations—apart from hardware constraints. This allows me to explore different creative possibilities without external constraints.
Setup Process
1. Downloading the Required Tools
First, I downloaded Ollama, a tool that facilitates the management and execution of AI models locally.
Next, I used PowerShell to download DeepSeek R1 from this link using the following command:
ollama pull deepseek-r1:14b
Note: The command above downloads a fairly large model. If you're trying this yourself, I recommend starting with a smaller model before upgrading.
I have a decent computer to run this model. Below are my system specifications:
- Processor: Intel(R) Core(TM) i7-2600 CPU @ 3.40GHz
- Installed RAM: 22.0 GB
- GPU: NVIDIA Geforce GTX TITAN X
- Storage: HDD 232GB
- System Type: 64-bit operating system, x64-based processor
2. Running DeepSeek Locally
Once the model was successfully downloaded, I could run it using:
ollama run deepseek-r1:14b
However, my goal was not just to run it from the command line but to build a local AI-powered application. To achieve this, I needed a way to interact with the model programmatically.
Building a Local UI for DeepSeek
To integrate DeepSeek into a local application, I used Python for backend interactions and Streamlit to create a simple user interface.
1. Installing Required Libraries
I installed the ollama Python package to communicate with DeepSeek:
pip install ollama
I also installed Streamlit for building the UI:
pip install streamlit
To confirm Streamlit was installed correctly, I ran:
streamlit hello
Interacting with DeepSeek Programmatically
After setting up the required libraries, I began working on the interaction logic between the user input and the AI model. I used st.chat_input to take user input:
Then, I sent the input to DeepSeek for processing:
Storing Conversations Locally
Instead of using a database, I decided to store conversations in JSON files since I'm the only one using the system for now. Here’s how I handled saving chat history:
Managing Chat History
To enable browsing past conversations, I stored each user input as a user object and each AI response as an assistant object:
To create new chat sessions, I introduced a system role to indicate a fresh conversation:
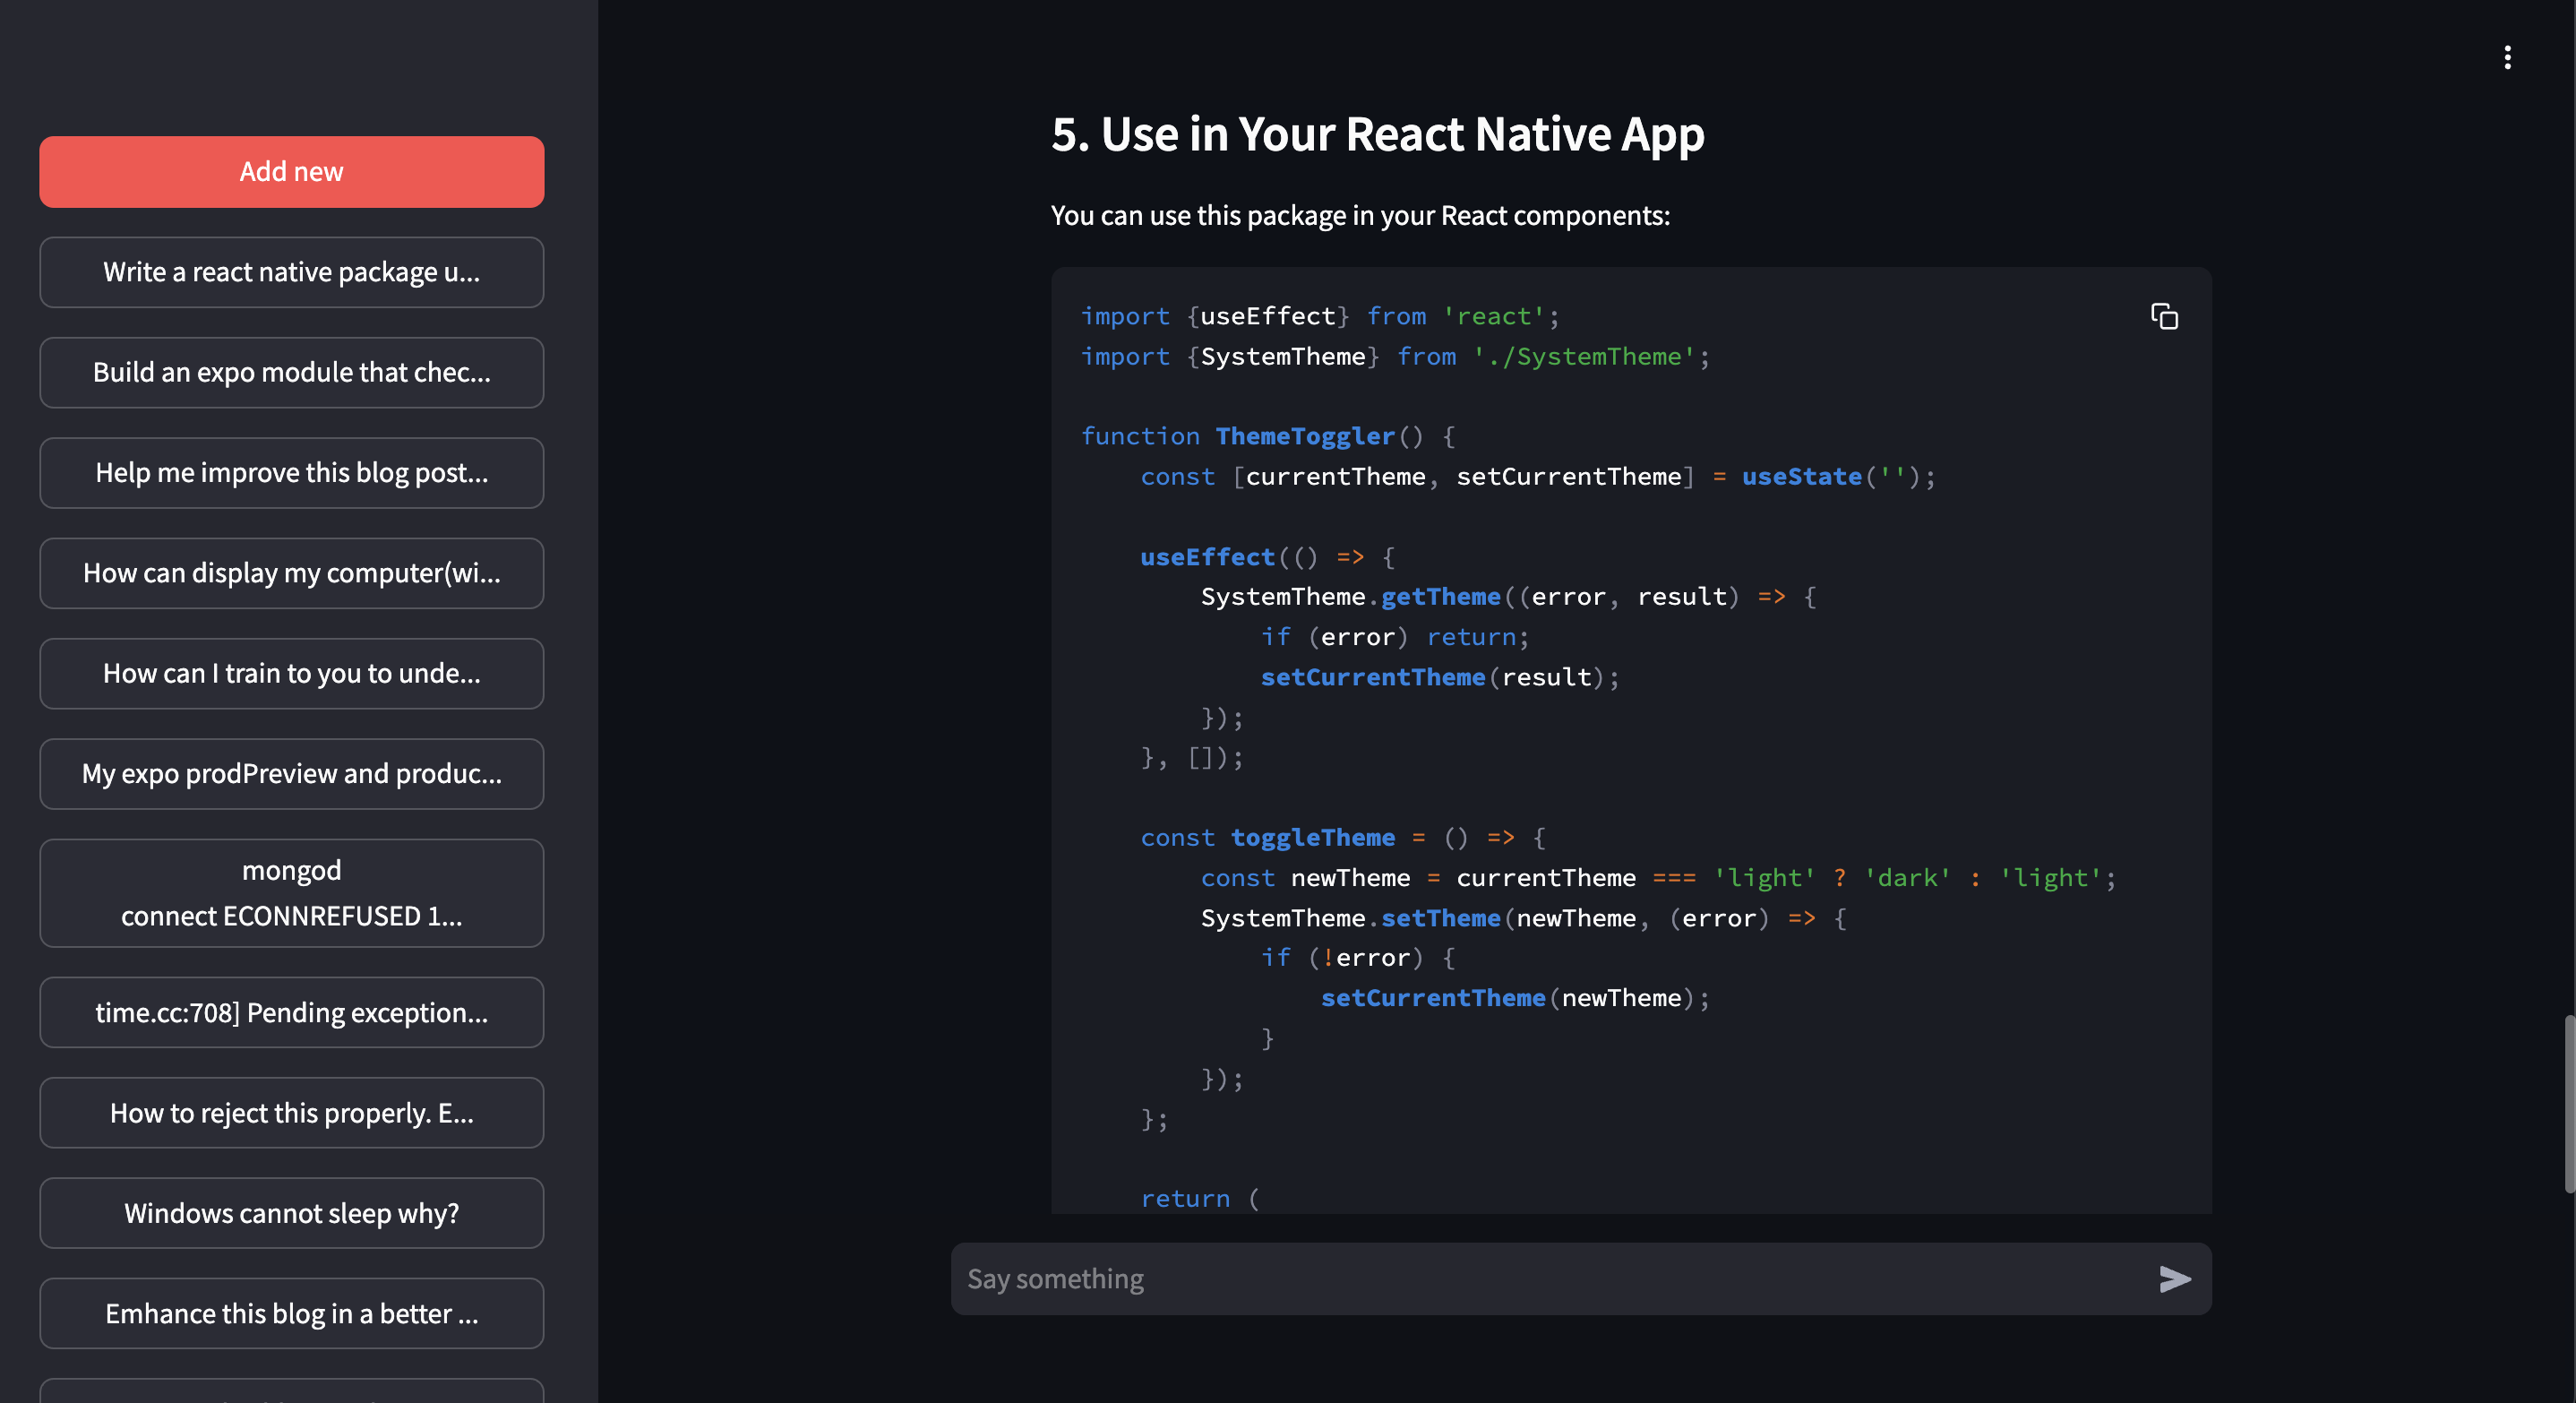
Finally, I displayed saved chats in the sidebar:
Conclusion
Setting up DeepSeek R1 locally was a great learning experience. Running my own AI model gives me full control over my data, fosters creativity, and eliminates reliance on third-party services.
For anyone interested in doing the same, I found this GitHub discussion helpful.
The full source code can be found here.
Thanks for reading!